
This is a post by Andrew Williams.
Posted Wednesday, February 21, 2024
Originally posted at https://nikdoof.com/posts/2024/creating-an-appletalk-nas/
Enabling file sharing with pre-OSX Mac systems

This is a post by Andrew Williams.
Posted Wednesday, February 21, 2024
Originally posted at https://nikdoof.com/posts/2024/creating-an-appletalk-nas/
Working on retro Apple Macs sometimes presents challenges in a modern context, most systems make use of either outdated or dying media which may be unreliable or difficult to locate. In my case, I’ve recently acquired a Power Mac G4 Sawtooth which while it has USB the interface is slow and wrangling files between computers using USB sticks isn’t the quickest method. For even older Macs this isn’t even an option, so you have to resort to burnt CDs, Zip disks, or floppy disks. Thankfully Apple has always supported some level of networking on even their earliest machines; AppleTalk.
Netatalk is a modern implementation of the AppleTalk protocols and can be used to provide file shares and time services over Ethernet. To connect to LocalTalk devices you’ll need a quite expensive network converter. We’re going to set-up, install, and configure a basic Netatalk 2.3 server on Ubuntu 24.02 and share a folder and time services.
First of all, you’ll need a Ubuntu 24.02 system, or any Debian-based distribution for that matter, which is out of the scope of this article. As we’ll be building Netatalk from source (as no package is available for the later Ubuntu/Debian versions) we’ll need to install some prereq packages:
# apt-get install automake libtool build-essential pkg-config checkinstall git-core avahi-daemon libavahi-client-dev libssl-dev libdb5.3-dev db-util db5.3-util libgcrypt20 libgcrypt20-dev libcrack2-dev libpam0g-dev libdbus-1-dev libdbus-glib-1-dev libglib2.0-dev libwrap0-dev systemtap-sdt-dev libacl1-dev libldap2-dev libevent-dev
# curl -O netatalk-2.3.1.tar.bz2 https://sourceforge.net/projects/netatalk/files/netatalk-2-3-1/netatalk-2.3.1.tar.bz2/download
# tar jxvf netatalk-2.3.1.tar.bz2
You should have a folder named netatalk-2.3.1 as the result. Now we need to configure the build, for anyone who has ever compiled any standard C project in the last ten years should find this quite familiar:
# ./configure --enable-systemd --sysconfdir=/etc --with-uams-path=/usr/lib/netatalk --enable-ddp
A quick rundown of the options used here:
--enable-systemd - Creates systemd compatible startup scripts, needed for Ubuntu/Debian--sysconfdir=/etc - Set the configuration folder to /etc, if you want you can have this set to /usr/local/etc to completely keep it separate from the distribution install.--with-uams-path=/usr/local/lib/netatalk - Destination for the ‘UAMS’ modules, which provide authentication methods.--enable-ddp - Enables AppleTalk, should be on by default but just to make sure…Netatalk includes several other options, all of which can be viewed by using ./configure --help, these include configuring CUPS printing via PAP, SLP support for OSX 10.1, and various backend database support for metadata (which the stock one is just fine).
Now we need to build and install:
# make
# make install
# systemctl daemon-reload
If everything worked as expected, you should have a /etc/netatalk folder with some basic configuration files, and the main executables in /usr/sbin.
atalkdatalkd is the service that handles the AppleTalk over Ethernet side of the services. The service heavily leans on the kernel’s support for AppleTalk which is still included in most modern Linux kernels, including Ubuntu and Debian. To be sure that it is available run modprobe appletalk.
Out of the box, atalkd should run without any additional configuration, but we’re going to modify some parameters for the small network I have at home.
/etc/netatalk/atalkd.conf
ens192 -router -phase 2 -net 1 -addr 1.1 -zone "Doofnet"
So, to break down what that means:
ens192 - the network interface we want to speak AppleTalk on, in this instance, we’re using a VM so the primary network interface is ens192, but on your system, it’ll be different.-router - advertise this service as a router.-phase 2 - use ‘Phase II’ AppleTalk over Ethernet.-net 1 -addr 1.1 - The network and node ID of this service, this can be skipped as atalkd will auto-generate this if it is missing.-zone "Doofnet" - The name of the ‘zone’ to advertise this service as part of, this can be anything or skipped, as this is just more for visual fluff for client devices.Once the configuration file is done, you can start atalkd:
# systemctl start atalkd
After a short pause, you can check journalctl and see the logs of the service starting up.
# journalctl -u atalkd -f -n 100

Feb 20 22:35:39 nas-afp systemd[1]: Starting atalkd.service - Netatalk AppleTalk daemon...
Feb 20 22:35:39 nas-afp atalkd[44891]: Set syslog logging to level: LOG_DEBUG
Feb 20 22:35:39 nas-afp atalkd[44891]: restart (2.3.1)
Feb 20 22:35:40 nas-afp atalkd[44891]: zip_getnetinfo for ens192
Feb 20 22:35:50 nas-afp atalkd[44891]: zip_getnetinfo for ens192
Feb 20 22:36:00 nas-afp atalkd[44891]: zip_getnetinfo for ens192
Feb 20 22:36:10 nas-afp atalkd[44891]: as_timer configured ens192 phase 2 from seed
Feb 20 22:36:10 nas-afp atalkd[44891]: ready 0/0/0
Feb 20 22:36:10 nas-afp systemd[1]: Started atalkd.service - Netatalk AppleTalk daemon.
afpdafpd handles the AppleTalk File Protocol requests, much like smbd. This service only needs a few configuration items to get working, and again, leaving the defaults will be absolutely fine. But, as we’re trying to make things look good we’ll add some extra fluff:
/etc/netatalk/afpd.conf
- -transall -uamlist uams_guest.so,uams_randnum.so,uams_dhx.so,uams_dhx2.so -icon -mimicmodel AirPort
-transall - Use TCP and Appletalk (all transports).-uamlist - The list of ‘UAM’ modules to use for authentication, we’ve enabled Guest, Randnum, DHX, and DHX2.-icon - Use the Netatalk icon for mounted volumes.-mimicmodel - Mimic a Mac model, in this instance an AirPort (options can be found in man afpd.conf and /System/Library/CoreServices/CoreTypes.bundle/Contents/Info.plist on a macOS system).Again, we restart aftpd and watch the results
# systemctl restart afpd
# journalctl -u afpd -f

Feb 20 22:36:10 nas-afp systemd[1]: Starting afpd.service - Netatalk AFP fileserver for Macintosh clients...
Feb 20 22:36:10 nas-afp systemd[1]: Started afpd.service - Netatalk AFP fileserver for Macintosh clients.
Feb 20 22:36:16 nas-afp afpd[44900]: AFP/TCP started, advertising 10.101.2.123:548 (2.3.1)
Now, with a little luck, your new AFP server should be visible to your client devices:
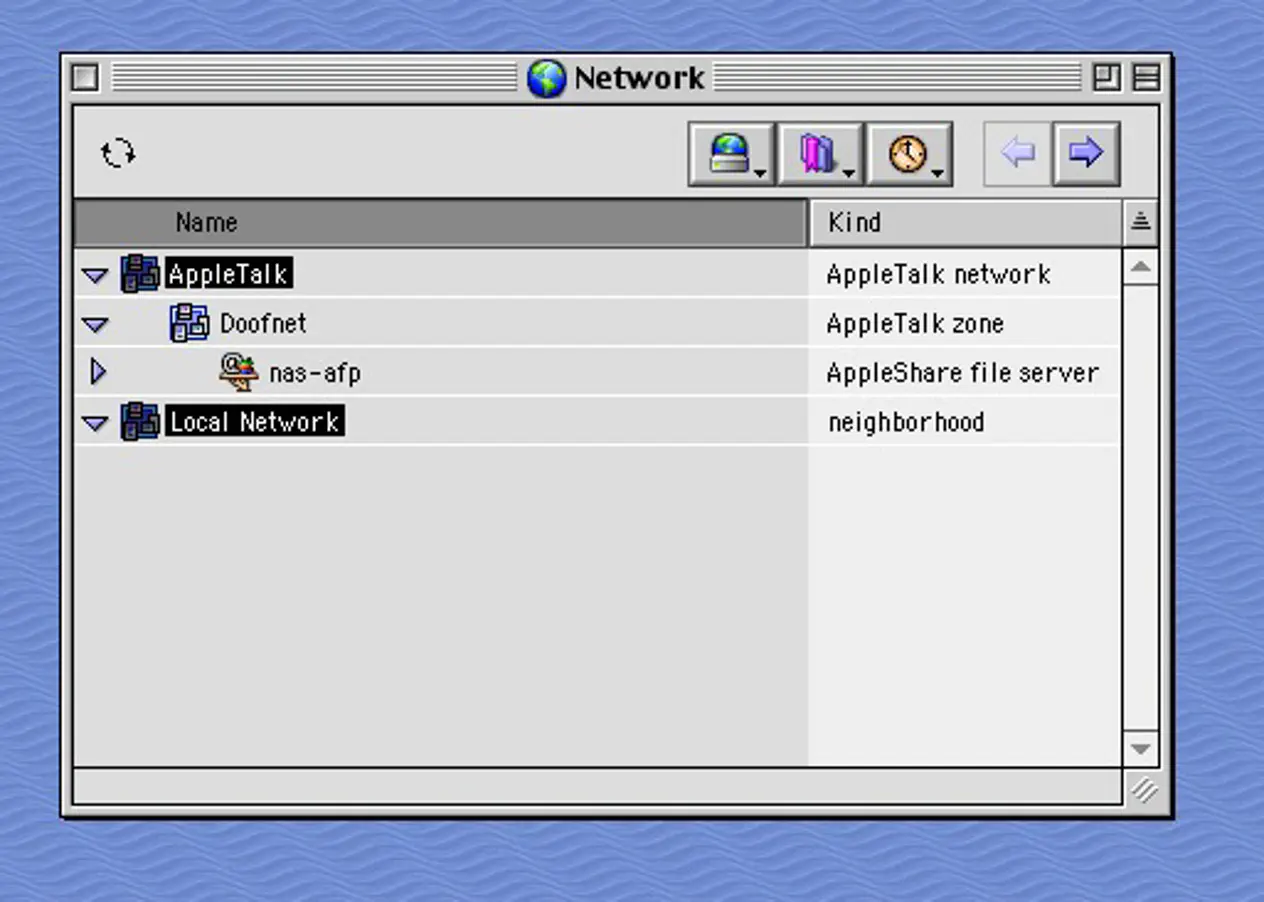
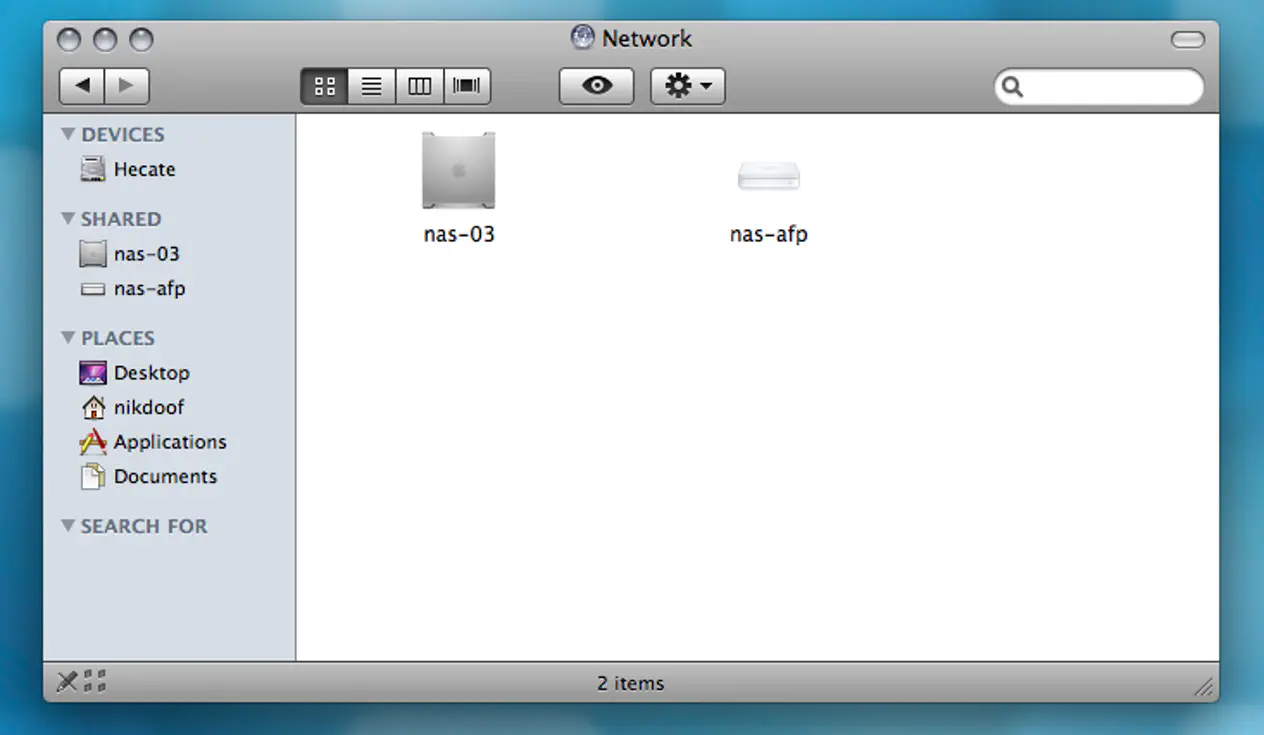
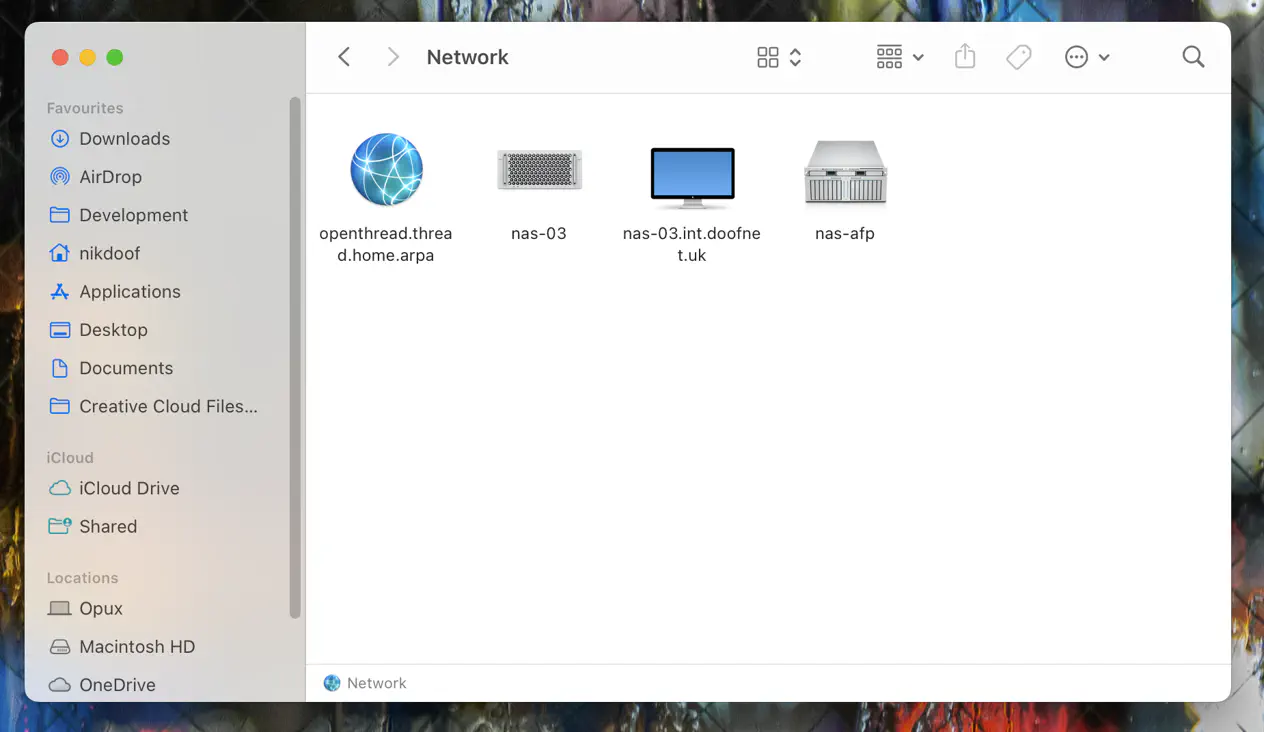
The final step is to get some folders shared, but first, we need to approach the issue of resource forks.
Apple files are not just files, due to how the original Mac OS system was designed files consist of a data and resource fork and while some files work perfectly fine with just a ‘data’ fork, others require the resource fork. The resource forks are stored differently on the file system and were unique to Mac OS for a while, so much so that FAT/FAT32, NFS, SMBv1 have no concept of how to handle them. Over time support has improved and NTFS and modern Linux filesystems have the concept of ‘Extended Attributes’ which can be used to store resource forks.
This matters because, behind the scenes, Netatalk handles resource forks either by working with the filesystem to write ’extended attributes’ or storing the resource forks and other metadata in ‘AppleDouble’ files. When creating shares via afpd you’ll need to take this into account, but here are some bias suggestions:
.AppleDouble files! Loss of this data may make other files useless.Now, back to the configuration:
Configuration for the shares is held in AppleVolumes.default, some other files exist as well, but you can read about them from man AppleVolumes
/etc/netatalk/AppleVolumes.default
:DEFAULT: options:upriv,usedots

/srv/transfer "Transfer" ea:sys
/srv/archive "Software Archive" ea:sys
Here we’re sharing two folders, Transfer and Software Archive, both from within the /srv folder (know your Linux FHS people!). We only have a few options here:
/srv/transfer - The path to the folder to share"Transfer" - The name of the share to show to the client devicesea:sys - Use ’extended attributes’ on the filesystem for metadata and resource forks. This can probably be set to ea:auto or missed out (as the default is auto).Once done, we can restart aftpd again:
# systemctl restart afpd
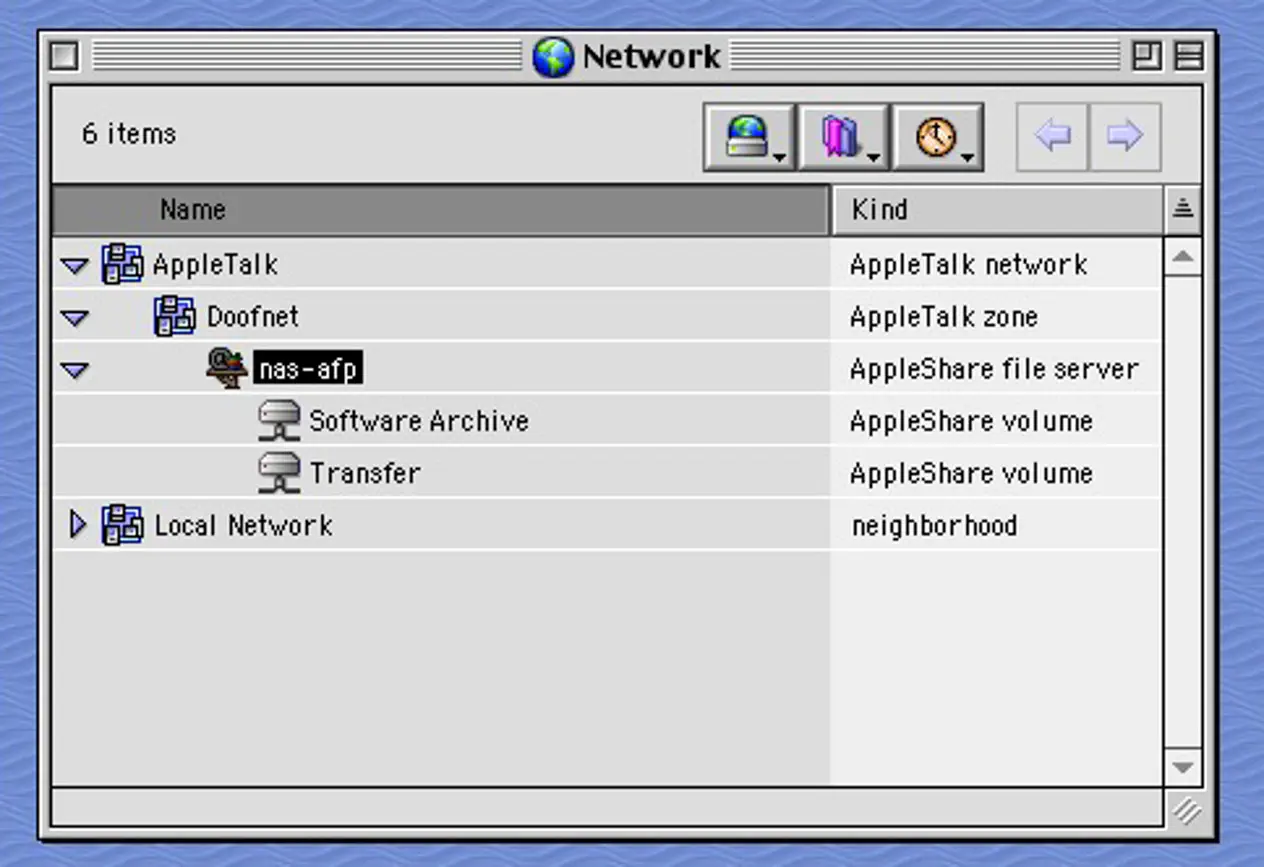
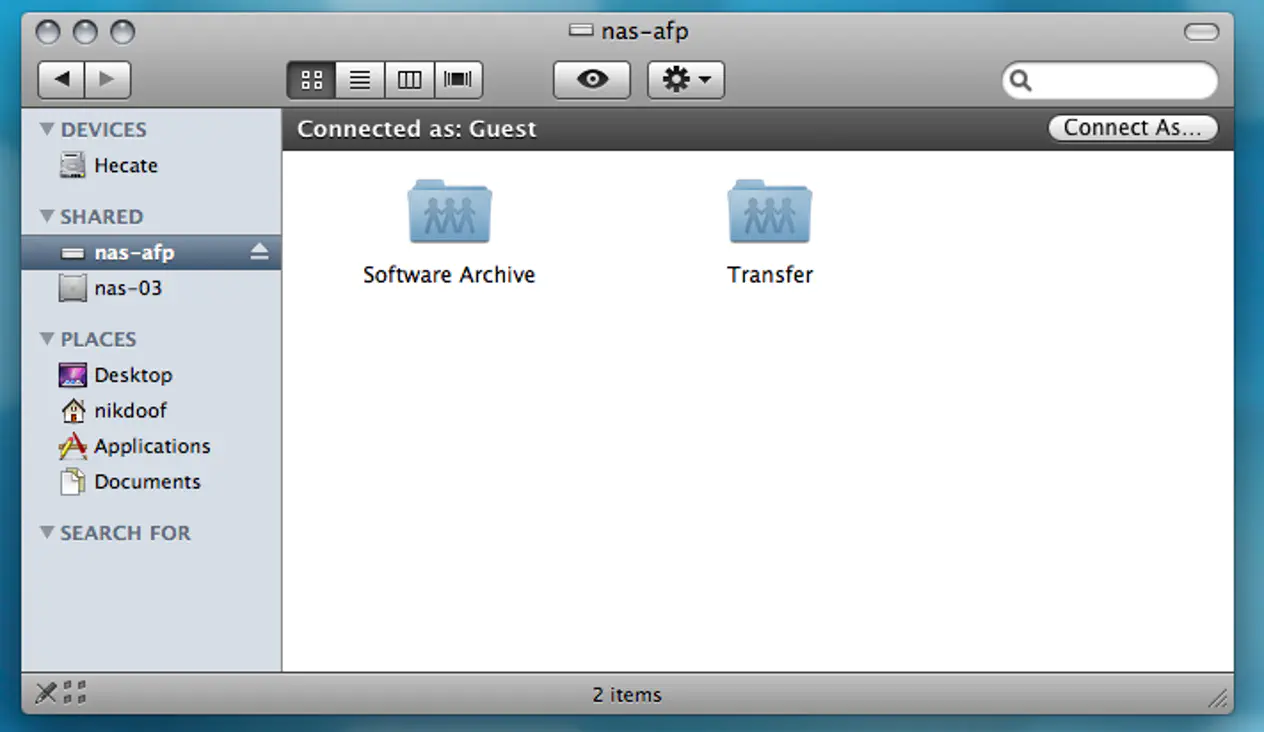
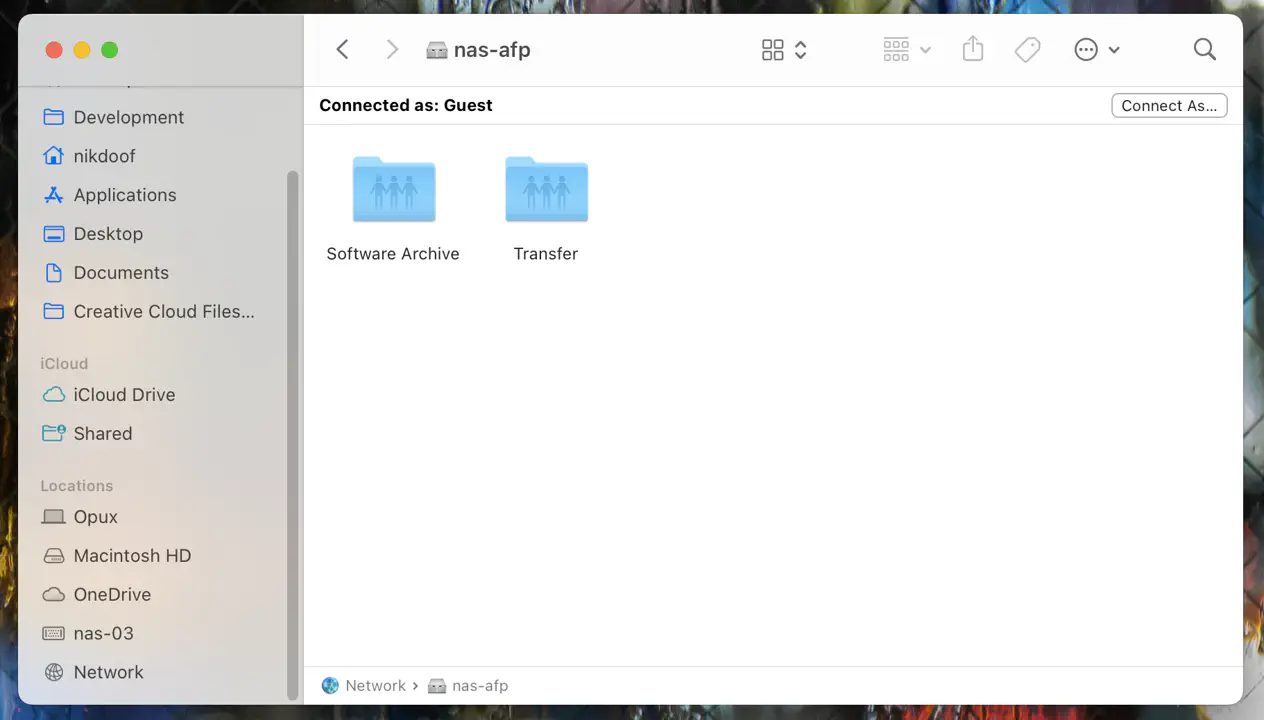
Unfortunately, before Mac OSX we had little or no tools to diagnose issues on the client side (to my understanding, I may be wrong), but with Mac OS X we have the appletalk command which can be used to print out node information, routing table and other useful bits of information to gain insights on how the network is operating.
On the server side, you can use tcpdump to inspect AppleTalk traffic. I’ve found success with the following filter set:
# tcpdump -i ens192 atalk or aarp or stp
First thing to check is that your network switches, make sure that ‘IGMP Snooping’ isn’t enabled. This setting tries to reduce the load of multicast traffic on the network, which AppleTalk is mostly multicast traffic! This setting will strip out the vast majority of AppleTalk related broadcast traffic and will cause systems to be isolated away from each other.
In UniFi, this is under the Site configuration and the network settings.
Do you have Unifi? Check the ‘Multicast Enhancements’ setting under your AP configuration, much like IGMP Snooping it is trying to do ‘smart’ things to reduce broadcast traffic over WiFi. This usually presents with being able to run a tcpdump on the server and seeing the client device announcements, but it’s not responding to any broadcasts from your server.
Leigh Hackspace is open to all.
Being a member gives you access to our space, tools, and community.